A new app starts with one environment, dev, that tracks your branch HEAD live. Create staging and prod to run the same code at pinned, immutable versions, then promote from one environment into another when a version is ready to ship.
For the model behind this (what “pinned” means, why dev is special, and the guarantee that a push to dev never silently changes prod), see Environments. This page covers the steps.
The dev environment
Every app has exactly one default environment, named dev, created automatically with the app. Three behaviors matter when you work with it:
- It tracks branch HEAD live. Every push to your connected branch deploys to
dev through the normal deployment pipeline, so the build cache, handler detection, and commit-message overrides all apply here.
- You can’t promote into it.
dev is the source of promotions, never the target, so the dialog never lets you select it as a target.
- You can’t delete it. The default env stays locked for the lifetime of the app.
dev doesn’t get its own dedicated runtime until something needs one; it runs through the app’s primary deployment machinery. Non-default envs each get their own isolated runtime.
Creating an environment
Open the environment dropdown in the breadcrumb at the top of the Dashboard and click New environment.
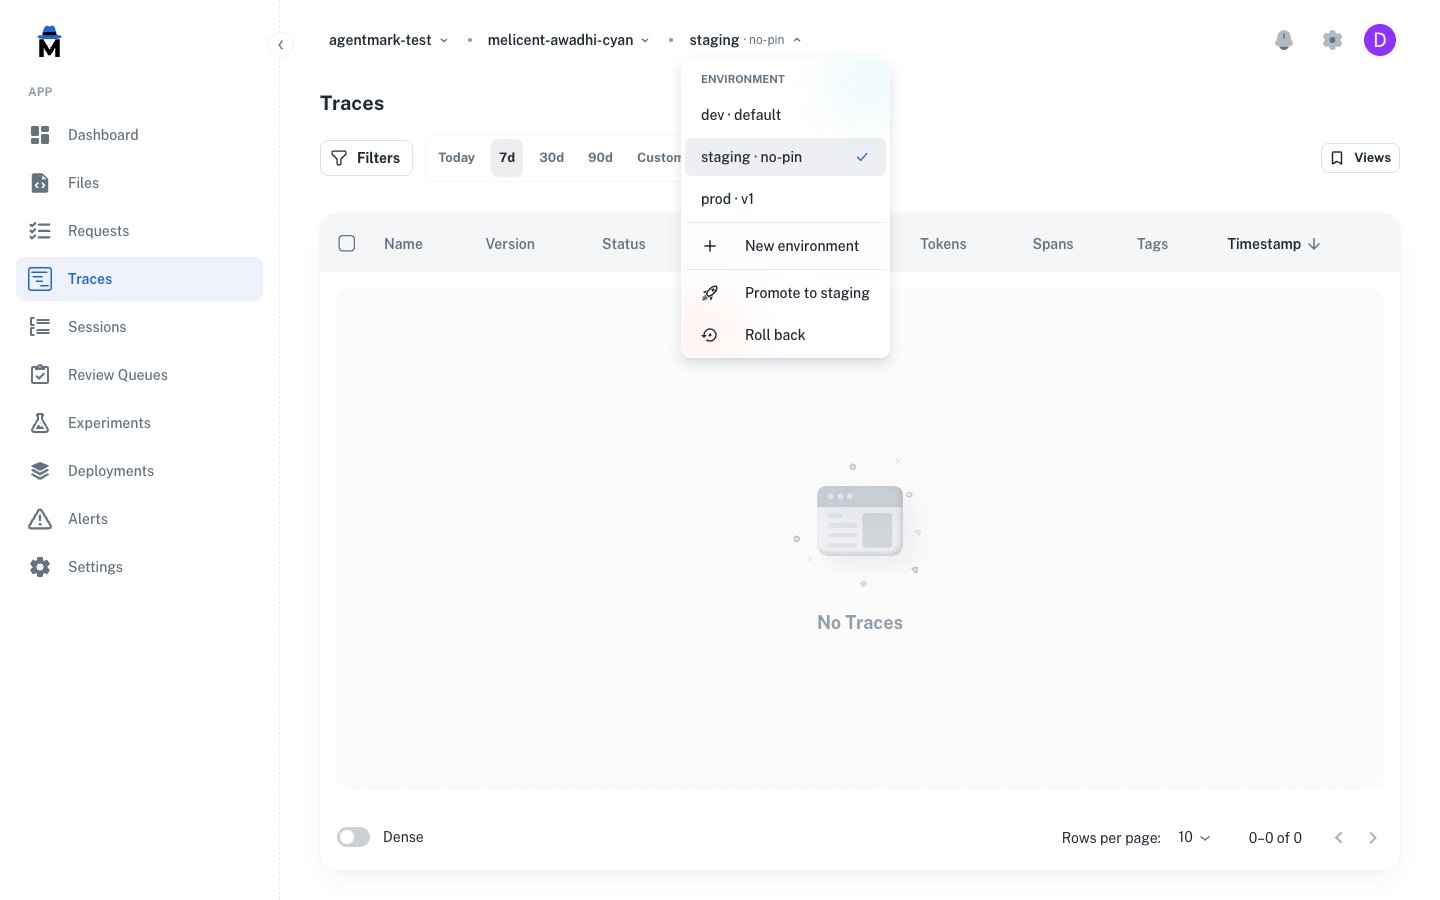 The dropdown shows every env on the app suffixed with its pin state:
 default for dev, no-pin for a freshly created env, or the version number (v1, v3) for a pinned env. The same menu hosts New environment, plus Promote to when the selected env isn’t dev and you hold environment.promote.
Roll back (re-pinning an env to one of its prior versions) is rolling out behind a feature flag: if the Roll back menu item shown in the screenshot isn’t visible, it isn’t enabled for your account yet, and the rollback API route responds 404 while the flag is off.
^[a-z][a-z0-9-]{1,39}$: lowercase letters, digits, and hyphens, starting with a letter, 2–40 characters. Common choices are staging, prod, preview, eu, tenant-acme.
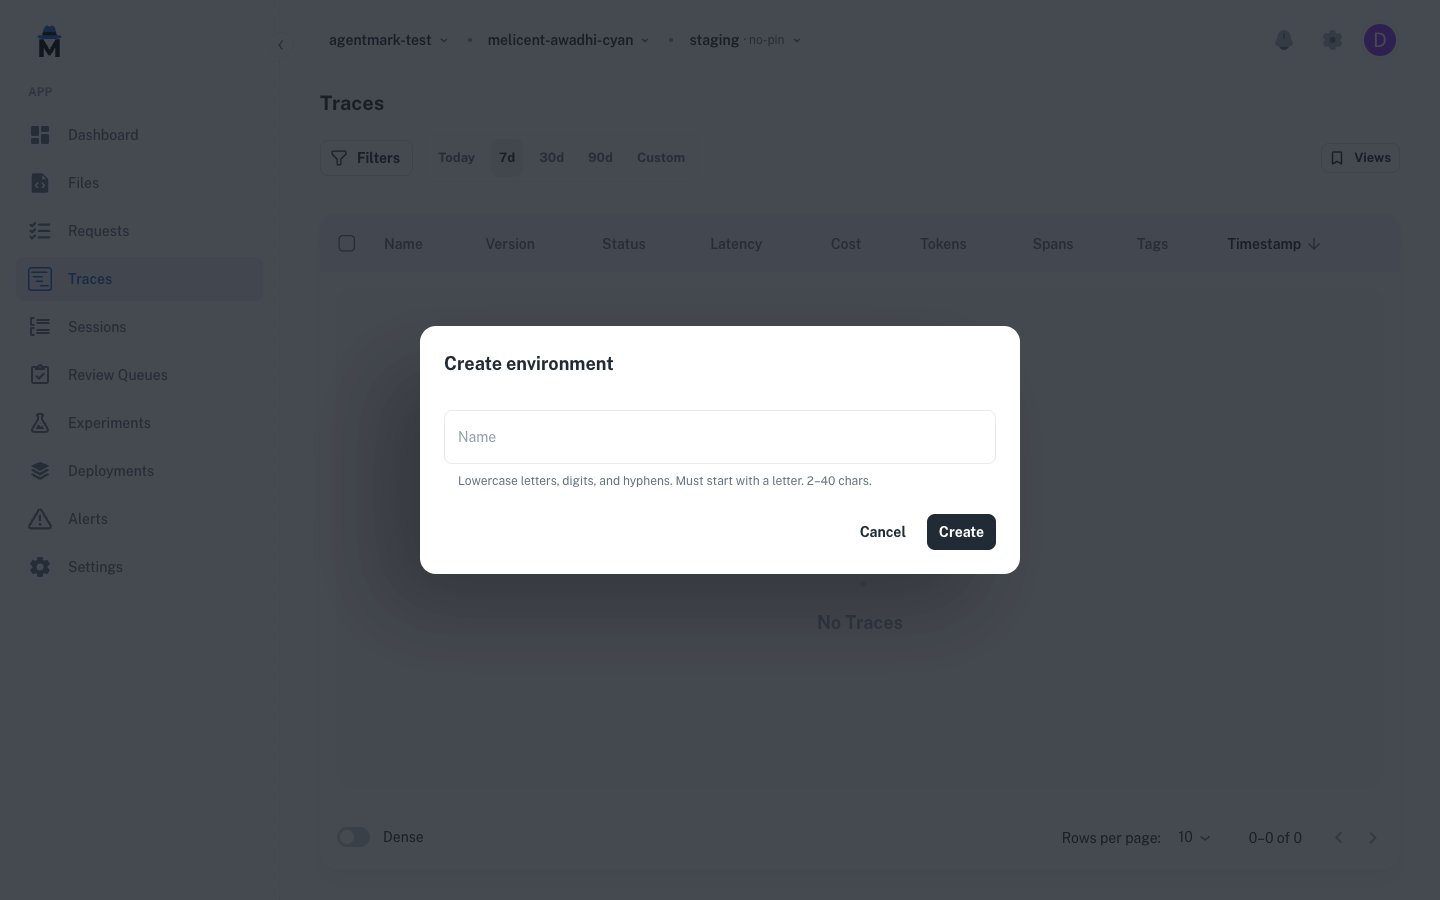 A newly-created env starts in the no-pin state: AgentMark provisions the runtime, but you haven’t promoted any version into it yet. Until the first promote, the env serves nothing.
Creating an env doesn’t auto-mint an API key. The post-create dialog links straight to the API keys page filtered to the new env so you can mint one scoped to it. A key pinned to one env can’t reach another env’s traces, templates, or datasets, so a prod key can’t reach staging. A key scoped to environment kinds instead reaches every env of those kinds (including future PR previews) and picks the target per request: see API key environment scope. 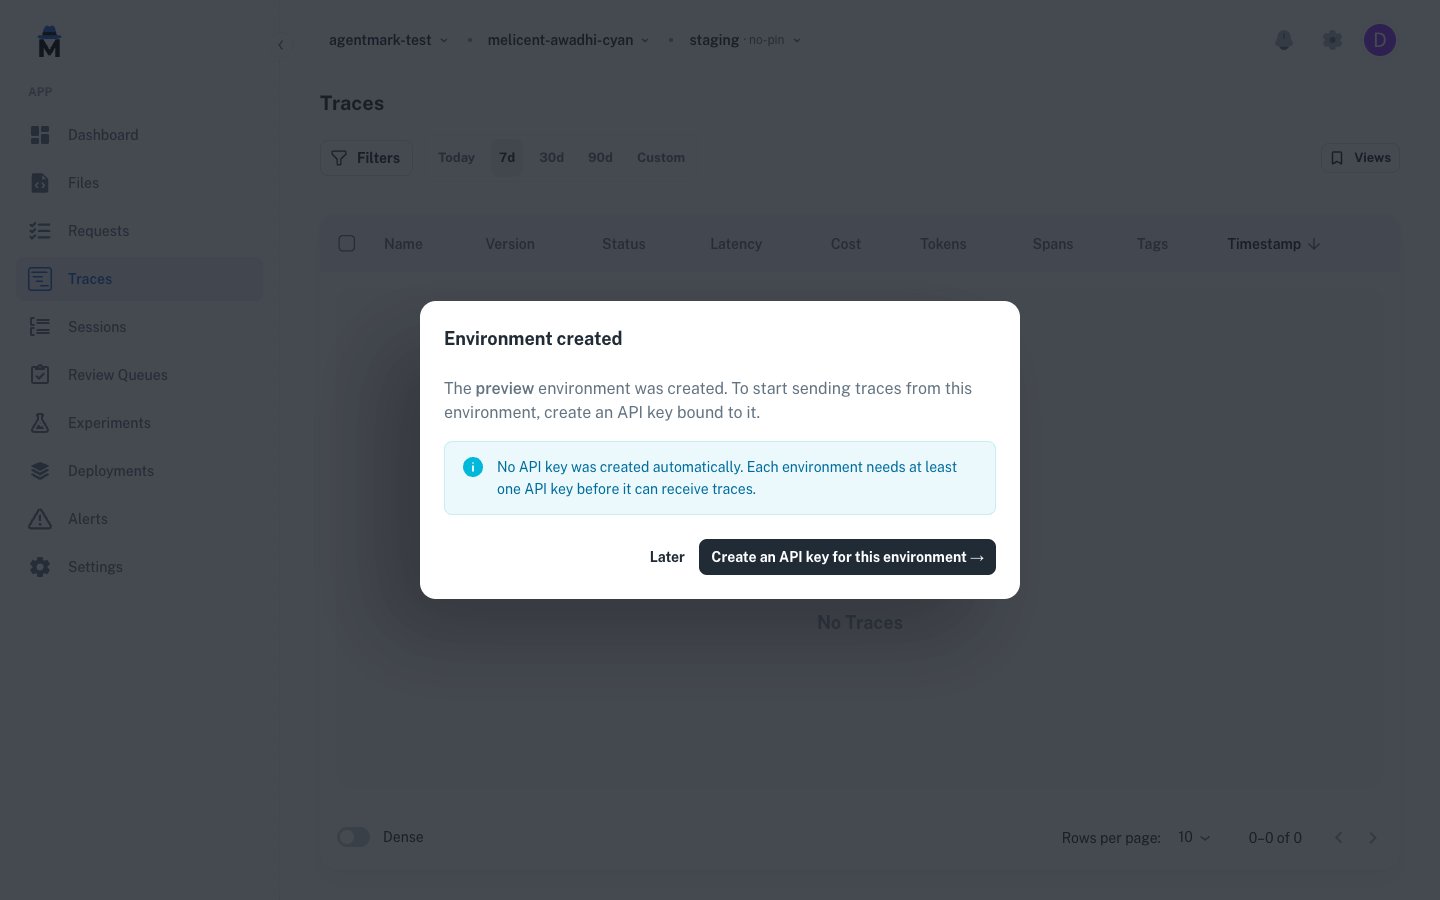
Environments per app are tier-limited: 1 on Free, 3 on Growth, 5 on Team, and configurable on Enterprise. The default dev env counts toward the limit, so on Free it consumes the only slot and creating any additional environment fails with a message naming your current plan. See Billing and usage. Promoting between environments
A promotion copies one environment’s current content and rebuilds its code into another environment. The target env’s version counter advances by one, its runtime rebuilds, and its pin moves to the new version.
Opening the dialog
Promote is always launched from the target, the env you’re promoting into:
- In the breadcrumb, switch to the env you want to promote into (
staging, prod, etc.).
- Open the env dropdown and click Promote to .
- In the dialog, pick the source env from the dropdown and (optionally) add a note explaining why.
- Click Promote to .
The dialog always shows the direction as a banner: source → target. You can change the source, but the env you triggered the action from fixes the target. This is intentional: promotions have a direction, and the UI never lets it go ambiguous.
 The source dropdown annotates each option with its current pin state (
dev (unpinned), prod (v1)) so you can see at a glance which commit each source would send. The source list excludes the target env, since an env can’t promote into itself.
What gets promoted
A promote takes the source’s current content and the commit its build came from, and applies both to the target:
- Content. Prompt templates (
.prompt.mdx), components (.mdx, .md), datasets (.jsonl), and schemas. AgentMark writes a fresh env-keyed snapshot for the target, so its content is fully independent of the source going forward.
- Code. The target’s runtime is rebuilt at the source’s commit, and the build injects the target environment’s environment variables. The target inherits any variables that target its kind or All Environments, with a variable set on the specific environment taking precedence. So a first promote into a fresh
staging or prod already has the provider keys it inherits from its kind, and you only need to set environment-specific variables when one environment needs a different value. The same build cache and handler detection rules from the deployment pipeline apply.
The source supplies the commit, not the latest of its branch, so what you tested is what gets promoted:
| Source state | Commit promoted |
|---|
Pinned env (for example staging at v3) | The env’s current pinned commit |
dev or any no-pin env | The branch’s current HEAD |
Rules
- Target can’t be
dev. The default env tracks branch HEAD; pinning it would break that invariant. The dialog hides dev from anywhere it would appear as a target.
- Source can’t equal target. AgentMark rejects promoting an env into itself; the dialog drops the target from the source dropdown.
- The app needs a git connection. Promote builds code against a commit, so the app must have a linked repository. Promoting from an app with no git connection returns 400.
- Permission required. Only roles that hold
environment.promote see the action.
Versions
Each non-default env has a monotonic current_version counter. A successful forward promote advances it by one: v1, v2, v3. The breadcrumb dropdown shows each env’s current pinned version next to its name (prod · v3).
dev is always at current_version: 0, since it has no pin to count.
Watching a promotion run
When you submit a promotion, the API returns immediately as soon as it writes the content snapshot and commits the env pointer. The code build runs asynchronously after that. The dialog stays open and shows a live progress view with two sub-status rows:
- File sync writes the env-keyed content snapshot. It completes before the API returns, so the dialog shows this as already done.
- Code build is the managed build that produces the target’s new runtime. This is what the progress view is actively polling.
 Closing the dialog mid-build doesn’t cancel the promotion; the build keeps going. While a promotion is in flight, the env shows a Deploying… badge next to its name on the Settings → General page, so you can come back to it from anywhere.
 The overall status collapses onto one of three values:
| Status | Meaning |
|---|
| In progress | Either the env-level commit or the code build is still working. |
| Deployed | The content commit succeeded and the build settled (either deployed or skipped via cache hit). |
| Failed | Any one of the steps failed; the env stays on its previous version. |
current_version. You can fix the underlying cause and click Retry to re-run the same promotion, or close the dialog and trigger a fresh one.
Deployment history
The Deployments tab on each env shows every promotion targeting that env in reverse chronological order. Each card surfaces:
- The short commit SHA the build ran against
- A Promotion type chip and the deployment status pill
- The two pipeline steps, File Sync and Code Deploy, with each step’s outcome
- The actor who triggered the promotion and how long ago it ran
 This is the audit log for “what version did
 prod run between Tuesday and Friday?”. It’s per-env: history entries belong to the env they targeted and stay on it for the life of the app.
The GET /v1/environments/{id}/deployments endpoint returns more detail than the cards show, including the pinned env_version, the source env id, and the promotion note. Use it when you need the full audit record programmatically.
Permissions
These per-app permissions gate environment actions:
| Permission | Action |
|---|
environment.read | See the env dropdown and per-env settings |
environment.insert | Create a new environment |
environment.promote | Promote into an environment |
environment.delete | Delete a non-default environment (with typed-name confirmation) |
API reference
The same actions are available over the API. Every endpoint operates on the app passed in the X-Agentmark-App-Id header. See the API reference under the Environments tag for full request and response schemas.
| Method | Path | Description |
|---|
GET | /v1/environments | List environments for the app (default env first) |
POST | /v1/environments | Create a non-default environment |
GET | /v1/environments/{id} | Get one env, including a cascade-preview for delete |
DELETE | /v1/environments/{id} | Delete a non-default env (requires typed-name confirmation in the body) |
POST | /v1/environments/{id}/promote | Promote a source env into this one; returns the new deployment |
POST | /v1/environments/{id}/rollback | Re-pin this env to a prior version (feature-gated; responds 404 while the rollback flag is off) |
GET | /v1/environments/{id}/deployments | List promotion history for an env |
POST .../promote returns 202 Accepted with the new deployment_id and env_version. The content snapshot and env-pointer commit are already done by the time the response lands; the build runs asynchronously. Poll GET /v1/deployments/{deploymentId} and watch code_status until it reaches deployed (success) or failed.
# Promote staging into prod
curl -X POST https://api.agentmark.co/v1/environments/$PROD_ENV_ID/promote \
  -H "Authorization: Bearer $AGENTMARK_API_KEY" \
  -H "X-Agentmark-App-Id: $AGENTMARK_APP_ID" \
  -H "Content-Type: application/json" \
  -d '{
    "source_environment_id": "'"$STAGING_ENV_ID"'",
    "note": "Release 2026-05-29 — sign-off in #releases"
  }'
Related reading
Have questions?
Reach out any time:

