

agentmark init scaffolds the project: it writes agentmark.json, creates an empty agentmark/ directory, pins @agentmark-ai/cli as a local dev dependency (so CI and teammates run the same version), installs the AgentMark agent skill into your editor, and hands off to your AI tool. The AI tool reads your project, asks the docs MCP for the right integration pattern, and wires the SDK into your existing code.
Prerequisites
- Node.js 18+
- An AI-tool-aware editor: Claude Code, Cursor, VS Code (Copilot Chat), or Zed
- An LLM provider API key (OpenAI, Anthropic, etc.) for the model you want to run
Step 1: Install the CLI
Install once, globally, so the bareagentmark command is on your PATH:
Step 2: bootstrap
Run from inside your project directory (or pass a folder name to scaffold a fresh one):npm run dev (and CI) resolve the pinned @agentmark-ai/cli from node_modules/.bin before any global install, so your project always builds against the version it was scaffolded with. In an existing project that already has a dev script, the AgentMark scripts land under namespaced keys (agentmark:dev, …) instead of clobbering yours.
Step 3: Ask your AI tool to wire AgentMark into your code
Open your project in Claude Code, Cursor, VS Code, or Zed and send the agent this message:Set up AgentMark in this project, including the client and a deployable handler.The AgentMark skill takes over. It:
- Detects your project’s framework (Next.js, FastAPI, Hono, plain Node, etc.)
- Queries the docs MCP for the right integration recipe
- Proposes a concrete plan back to you: packages to install, where the client file goes, and what your first prompt looks like
- After you confirm, installs the SDK, writes the client (
agentmark.client.ts/agentmark_client.py), the dev entry thatagentmark devboots (dev-entry.ts/.agentmark/dev_server.py), and a deployablehandlerfile, then scaffolds a first prompt and smoke-tests it
Step 4: Add your provider key
The agent tells you which env var to set for the model it picked. For OpenAI’sgpt-5.5 (the seeded default) that’s:
Step 5: Run your first prompt
- Cloud
- Local
- Commit and push your project to a Git repository (GitHub or GitLab).
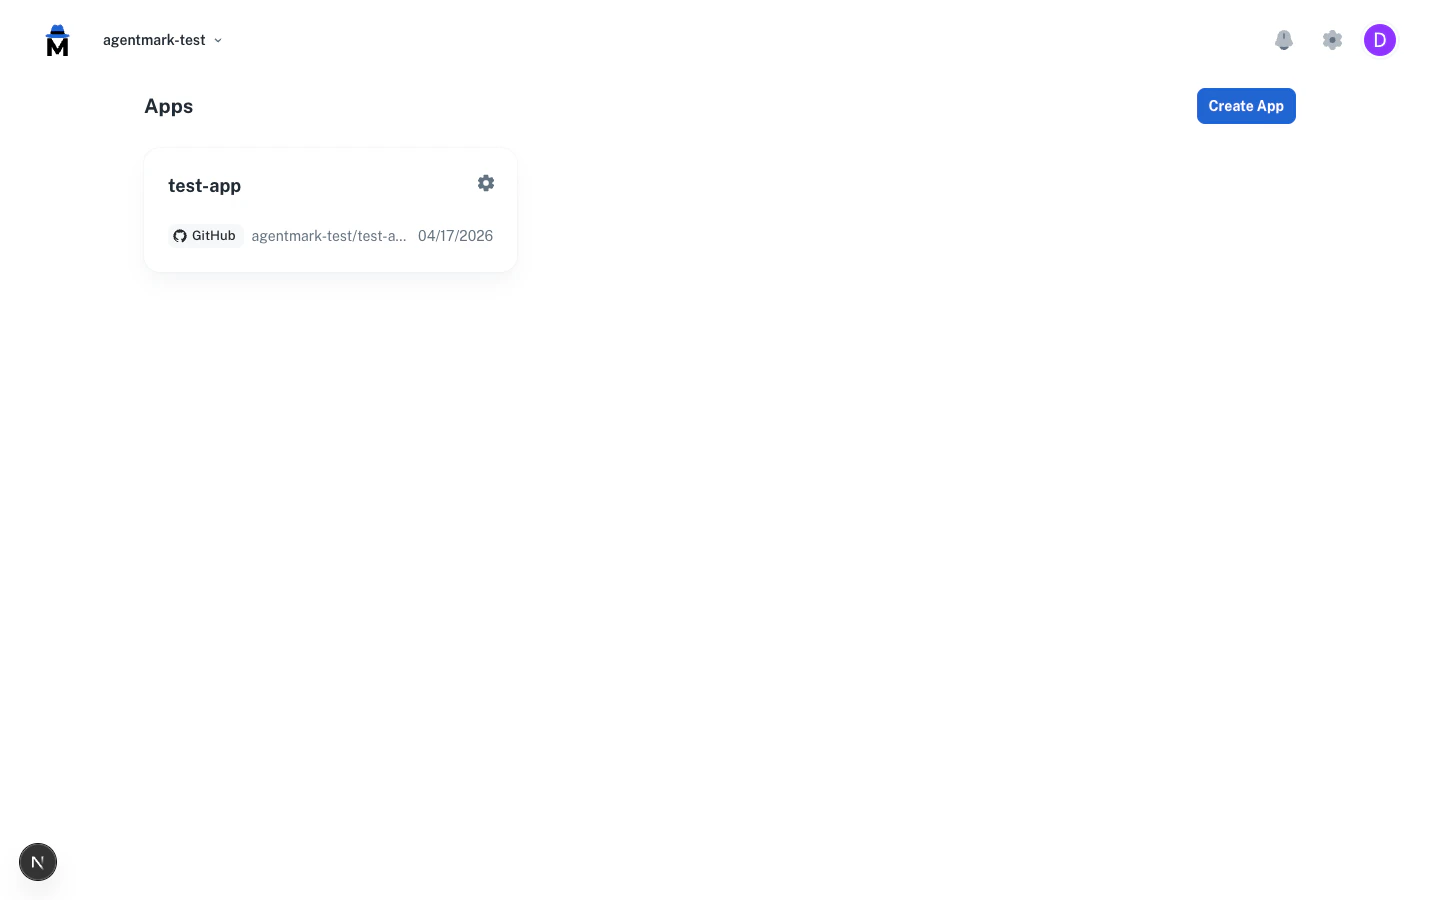
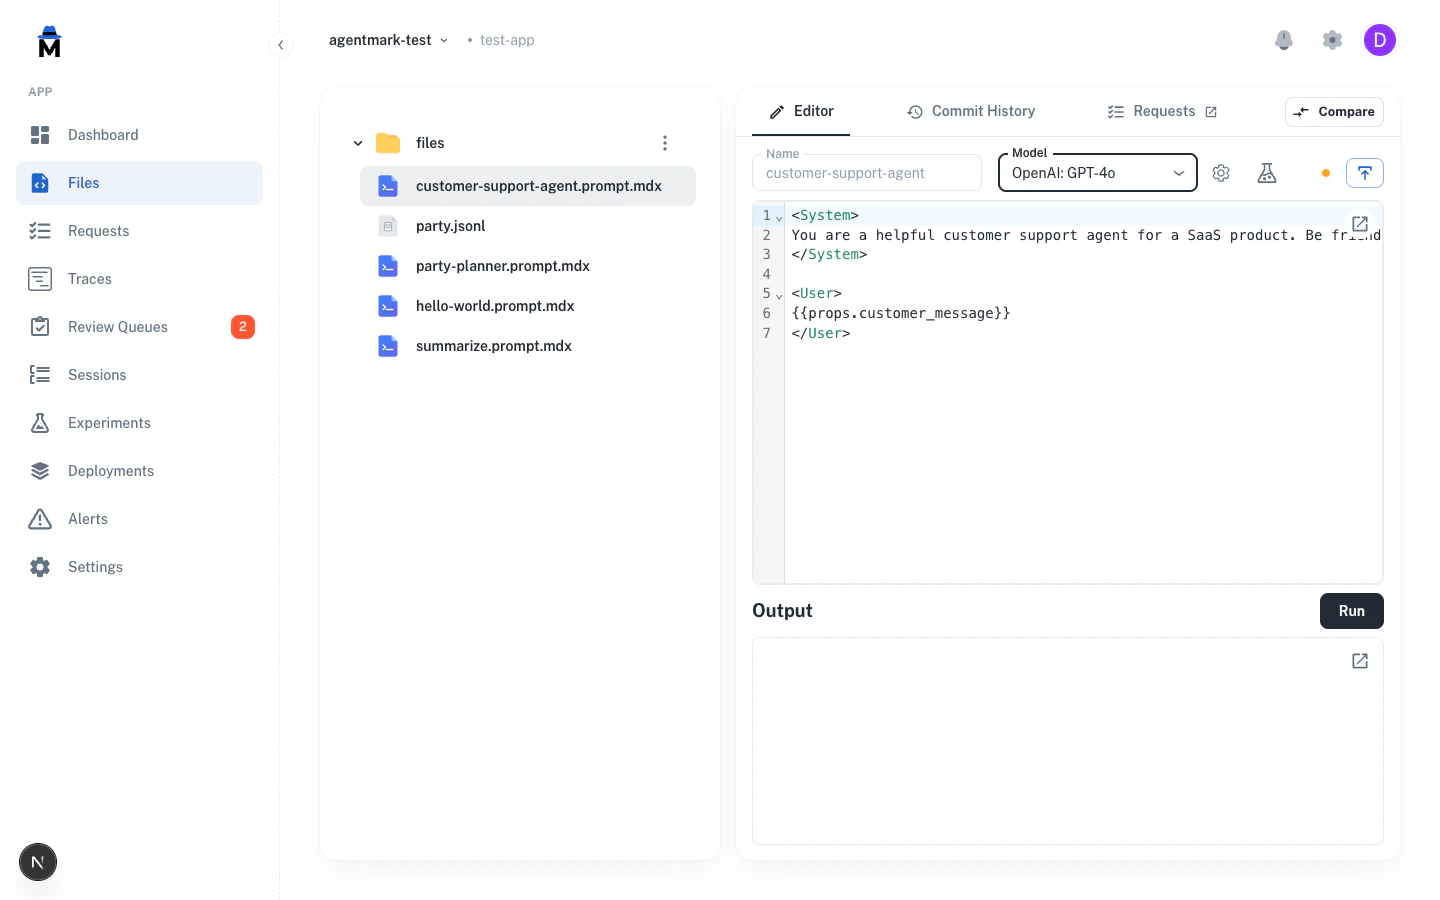
- In the AgentMark Dashboard, click Create App and give it a display name (you can rename it later from the app’s settings menu, and the URL identifier stays fixed). Then open the app’s settings menu and choose Link Repository to pick your repo. The first time anyone in your organization connects a repo, you’ll do a one-time Connect Git Repository step first. It installs the GitHub or GitLab app for your org, then mirrors your
.outerlayer/context directory into the Dashboard on every push. - Add your LLM provider API key in Settings → Environment Variables.
Step 6: Run an experiment
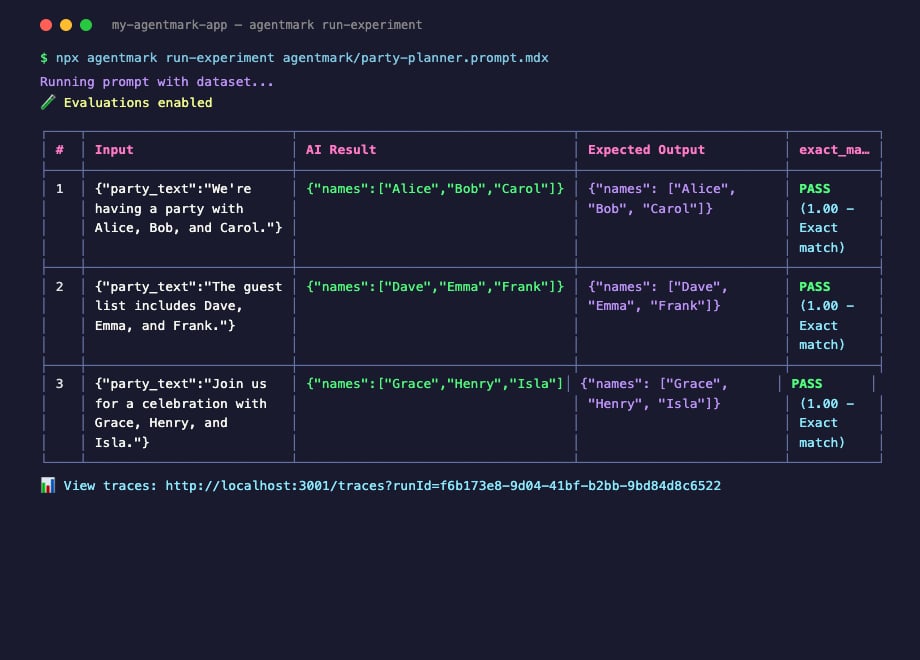
An experiment runs a prompt against a dataset and scores each row.- Cloud
- Local
Your datasets and score configs sync from the repo on every push. In the AgentMark Dashboard, open Experiments, click New Experiment, choose the prompt, dataset, and evaluations, then run. Results stream in live.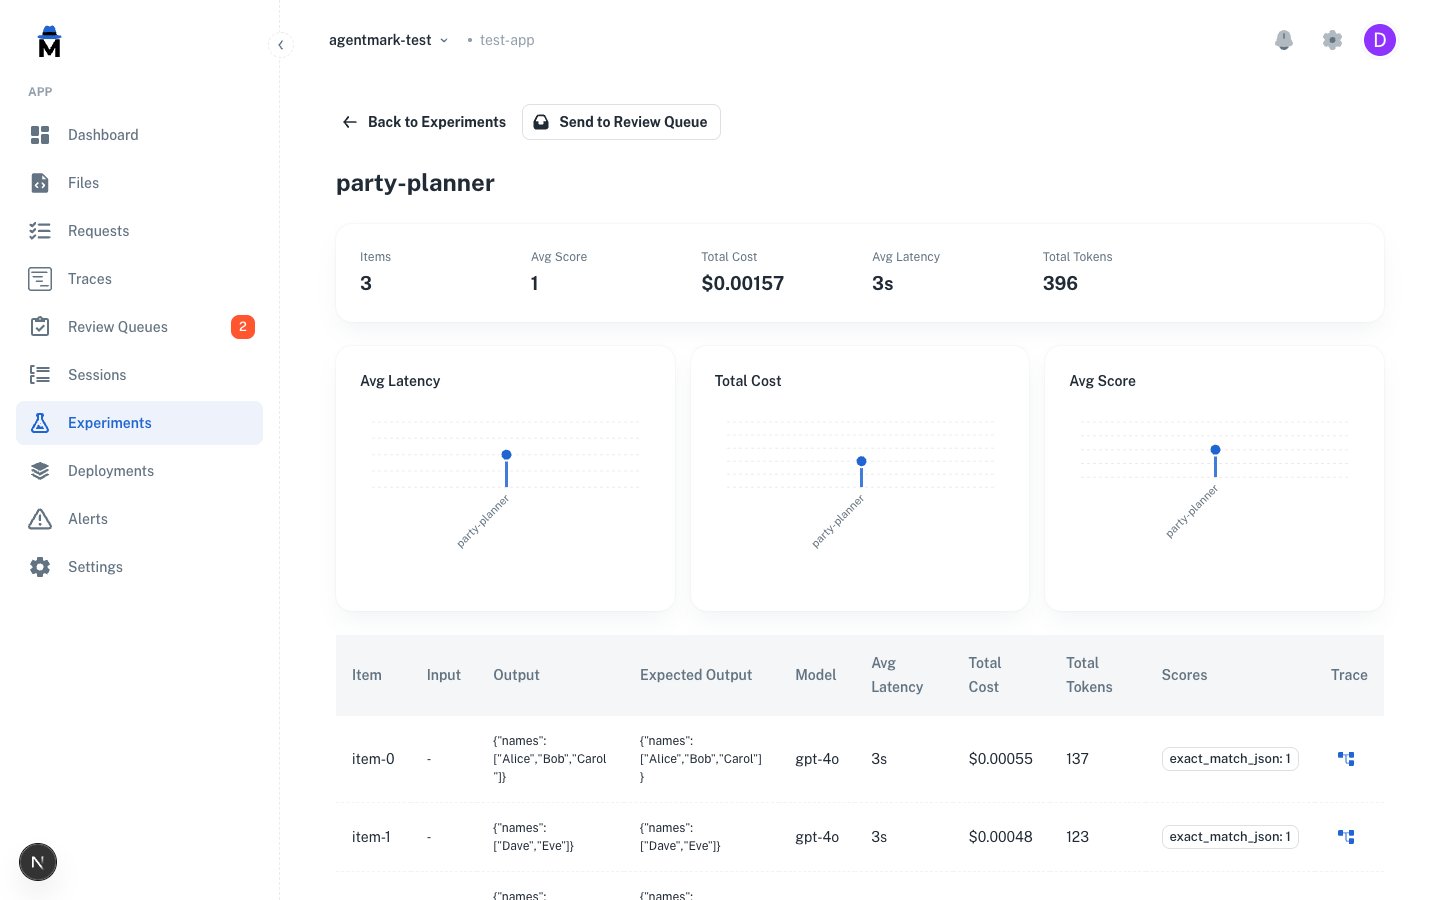
What’s in your project after bootstrap
| File | Source | Purpose |
|---|---|---|
agentmark.json | CLI | Project config: version, mdxVersion, agentmarkPath, and one seeded model in builtInModels (plus $schema) at bootstrap. Add models with agentmark pull-models; modelSchemas and scores are optional keys you add later |
agentmark/.gitkeep | CLI | Empty prompts directory (drop .prompt.mdx files here) |
.mcp.json (and per-IDE configs) | CLI | MCP wiring: agentmark-docs (docs), agentmark (Cloud), agentmark-local (dev) |
.agents/skills/agentmark/ | CLI (via npx skills add) | Agent skill that knows AgentMark; teaches Claude Code / Cursor / etc. |
agentmark.client.ts (or _client.py) | Skill | Configured SDK client, added when you ask the AI tool to integrate |
dev-entry.ts (or .agentmark/dev_server.py) | You / Skill | Local webhook entry that agentmark dev boots; see Client setup Step 3 |
handler.ts (or handler.py) | You / Skill | Cloud deployment entry; see Client setup Step 4 |
Your first .prompt.mdx | Skill | Scaffolded by the AI tool, named for your use case |
.env | You | Provider API key(s); AGENTMARK_API_KEY / AGENTMARK_APP_ID for Cloud |
Next steps
Build prompts
Author
.prompt.mdx files: text, object, image, speechExample prompts
Copy-paste starters for all four generation types
Evaluate
Test prompts with datasets + evaluators; gate CI on regressions
Observe
Traces, sessions, cost-and-token tracking
Connect your SDK
Any SDK via the neutral render plus reference executors
Set up your client
Host your client and connect it to AgentMark Cloud
Have questions?
Reach out any time:
- Email the team at hello@agentmark.co for support
- Schedule an Enterprise Demo to learn about AgentMark’s business solutions